

Are you the author? Sign in to claim
An AI-powered agent utilizing LLMs (e.g., Claude) with Function Calling to automate tasks in Blender. Enhances workflow
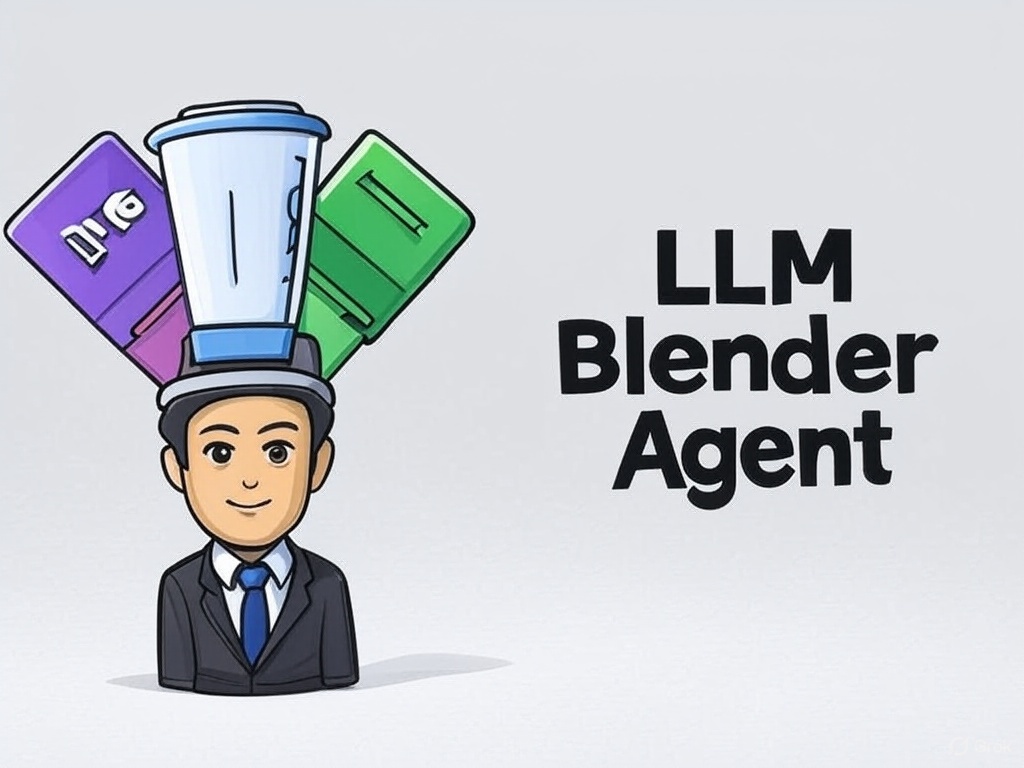
This is a project that uses the Function Call capability of different Large Language Models (LLMs) to operate Blender. The project allows users to control Blender for 3D modeling using natural language through various LLM interfaces (such as Claude, Zhipu AI, DeepseekV3, AIMLAPI, etc.).
# Install dependencies
pip install -r requirements.txt
Additionally, you need to install the BlenderMCP plugin in Blender and start the MCP server.
# Start the Web UI
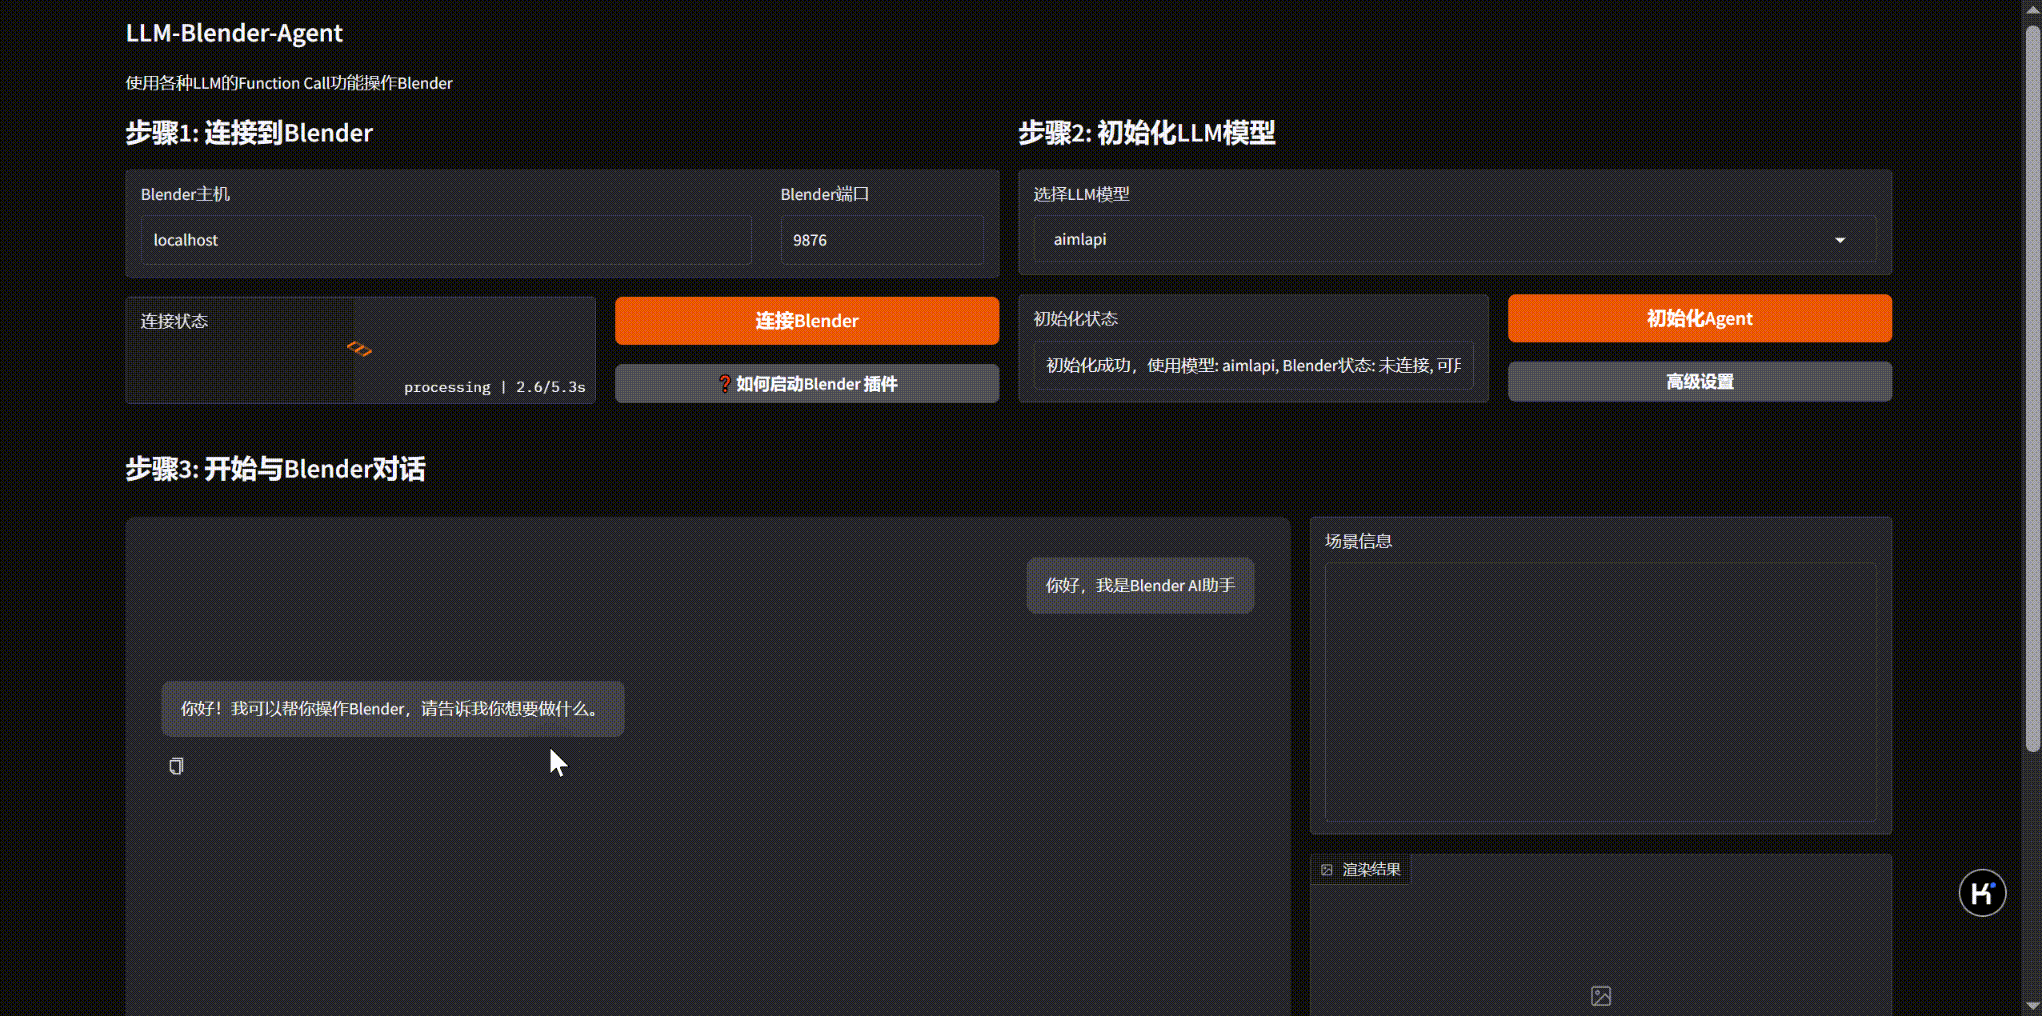
python app.py
Then visit http://localhost:7860 in your browser
The Gradio Web UI offers the following features:
The integrated Hunyuan3D-2 generator allows you to:
Access these features through the Blender UI panel under View3D > Sidebar > BlenderMCP > Hunyuan3D-2 3D Generator.
Hunyuan3D-2 是腾讯开发的先进3D生成模型,可以通过文本或图像生成高质量3D模型,并支持对现有模型进行纹理贴图。我们将其集成到LLM-Blender-Agent中,使用户能直接在Blender界面中利用这一技术。
主要特性:
要使用Hunyuan3D-2功能,您需要安装并配置Hunyuan3D-2服务器:
git clone https://github.com/Tencent/Hunyuan3D-2
git lfs install  # 启用Git大文件存储
git clone https://huggingface.co/tencent/Hunyuan3D-2    # 115GB
# 可选轻量版本:
# git clone https://huggingface.co/tencent/Hunyuan3D-2mini    # 46GB
git lfs install
git clone https://huggingface.co/Tencent-Hunyuan/HunyuanDiT-v1.2-Diffusers-Distilled    # 27GB
# 创建并激活conda环境(推荐)
conda create -n Hunyuan3D python=3.11
conda activate Hunyuan3D

# 从官方网站安装PyTorch
pip3 install torch torchvision torchaudio

# 安装依赖
pip install -r requirements.txt
pip install -e .

# 安装纹理组件
cd hy3dgen/texgen/custom_rasterizer
python3 setup.py install
cd ../../..
cd hy3dgen/texgen/differentiable_renderer
python3 setup.py install
使用我们提供的API服务器文件
将原始api_server.py替换为我们修改的版本hunyuan/api_server.py
(官方服务器缺少文本到图像功能,新文件中标记为"TODO"的部分指示了需要替换的路径)
启动服务器
python api_server.py
详细安装指南请参考hunyuan/how-to-install-hunyuan.md文件。
Set your API keys and model configurations in the config.json file:
{
  "claude": {
    "api_key": "YOUR_CLAUDE_API_KEY",
    "model": "claude-3-opus-20240229"
  },
  "zhipu": {
    "api_key": "YOUR_ZHIPU_API_KEY",
    "model": "glm-4"
  },
  "deepseek": {
    "api_key": "YOUR_DEEPSEEK_API_KEY",
    "model": "deepseek-v3"
  },
  "aimlapi": {
    "api_key": "YOUR_AIMLAPI_API_KEY",
    "model": "claude-3-7-sonnet-20250219"
  }
}
Here are some example commands you can use with the Blender Agent:
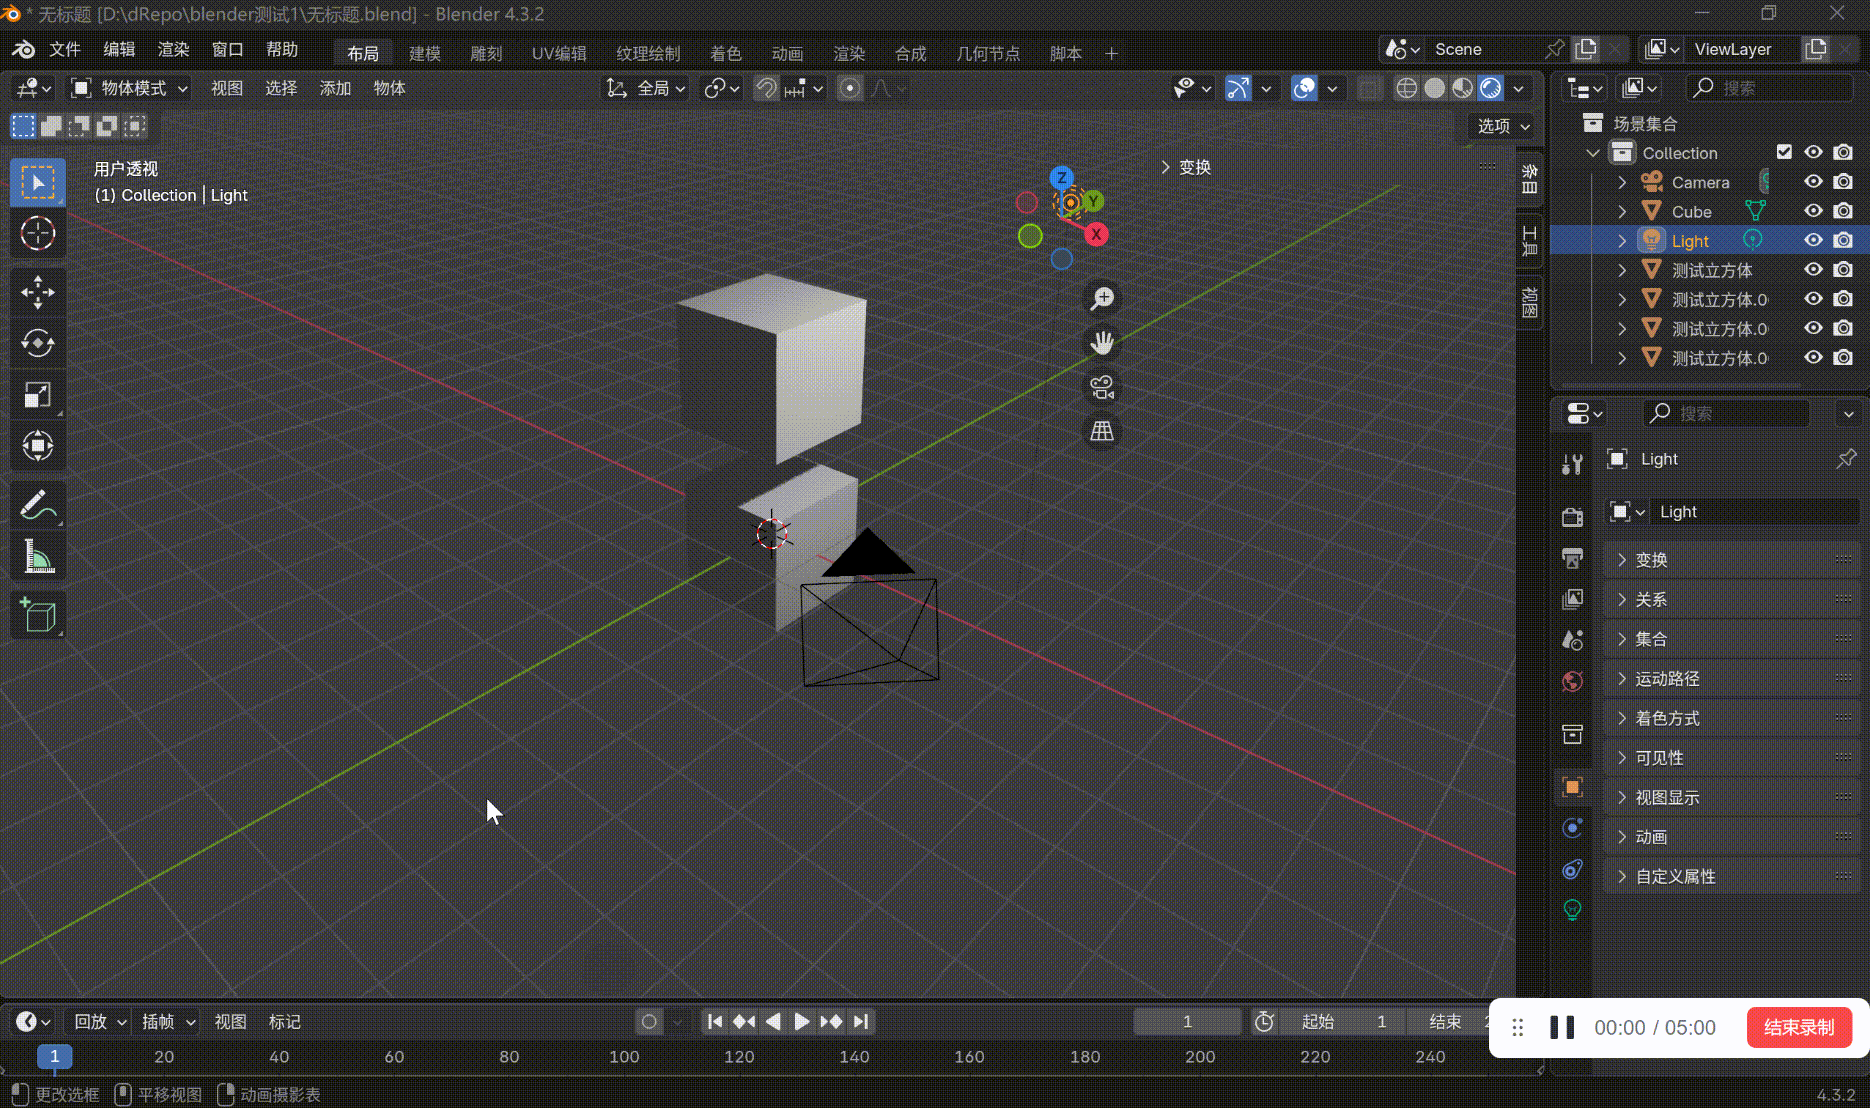
Create a red cube at the center of the scene and a blue sphere at coordinates [2, 0, 0].
Apply a glass material to the sphere and make the cube metallic with a roughness value of 0.2.
Find me a wooden floor texture from Poly Haven and apply it to a new plane object.
Generate a 3D model of a realistic tree using Rodin AI.
Generate a 3D model of a realistic car using Hunyuan3D-2.
Apply a photorealistic brick texture to this wall using Hunyuan3D-2.
MIT License
Manage multiple Claude Code agents from TUI or Web with tmux and git worktrees
Kanban-based orchestration for 10+ coding agents with isolated git worktrees per agent
191 agents, 155 skills, and 82 plugins cross-compatible with Claude Code, Cursor, and Codex
⚠️ Experimentelle Skill-Sammlung für deutsches Recht (Arbeits-, Gesellschafts-, Insolvenz-, Datenschutz-, Prozessrecht u